

Proven Methods Pros Use for Smooth, Durable Wall Fixes
Drywall repair techniques used by remodeling experts focus on clean cuts, solid backing, thin layers of compound, and careful sanding. Pros do not just cover damage. They rebuild the area so it blends with the rest of the wall. The goal is a smooth surface that looks like nothing ever happened. Below, you will see how the process works and why these steps matter.
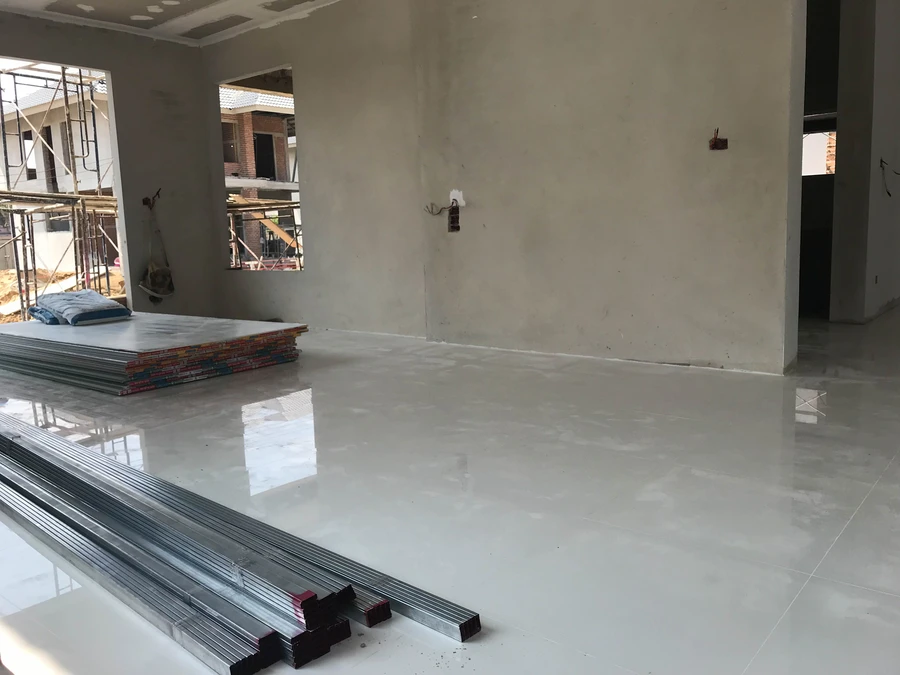
Quick Answer: How Professionals Fix Damaged Walls
Experts start by checking the size and cause of the damage. Small nail holes need a different fix than large cracks or holes. For minor dents, they use lightweight joint compound. For bigger holes, they cut out the damaged area and install new drywall with secure backing. Each repair ends with sanding, priming, and matching texture.
This step-by-step mindset is what makes drywall repair last longer and look better.
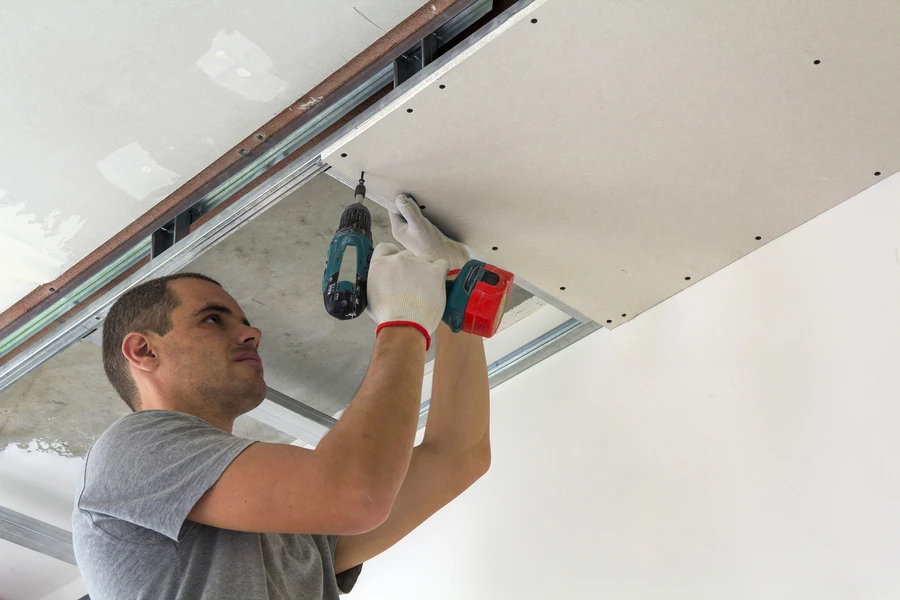
What You Need Before Starting
Before any drywall repair begins, pros gather the right tools. Having the correct supplies saves time and prevents rough results.
- Utility knife
- Drywall saw
- Joint compound
- Putty knives in different sizes
- Drywall tape (paper or mesh)
- Sanding sponge or fine sandpaper
- Primer and matching paint
Safety gear also matters. Dust masks and eye protection keep the job clean and safe.
Step-by-Step Process Professionals Follow
Remodeling experts follow clear steps so the repair blends in with the existing surface.
- Inspect the damage. Determine if it is cosmetic or structural.
- Cut and clean the area. Remove loose drywall and square the hole if needed.
- Add support. Install backing boards for larger openings.
- Patch the area. Insert a new drywall piece or apply compound for small repairs.
- Tape the seams. Prevent cracks by reinforcing joints.
- Apply thin coats of compound. Let each layer dry before the next.
- Sand smoothly. Feather edges so they blend with the wall.
- Prime and paint. Match the wall’s color and texture.
Thin, even coats are key. Heavy layers crack and shrink as they dry.
Common Mistakes to Avoid
Many wall patches fail because of rushed work. Skilled contractors avoid these errors:
- Skipping backing support for larger holes
- Using too much compound at once
- Not allowing proper drying time
- Poor sanding that leaves visible ridges
- Forgetting to prime before painting
Another mistake is ignoring the reason for the damage. Water stains, for example, must be fixed at the source before drywall repair. If not, the stain will return.
When to Call a Professional
Small nail holes and tiny dents are simple weekend projects. Large holes, ceiling damage, or cracks caused by settling are different. These repairs need precise cutting and support framing.
If the wall has texture, matching it can also be tricky. Popcorn ceilings and hand-applied textures take practice. A poor match stands out right away.
Damage caused by water, plumbing leaks, or structural shifting should also be handled by someone trained in remodeling and related work like drywall installation and finishing. This is not just about looks. It can affect the strength of the wall.
Our Recommendation for Strong, Clean Results
If your walls in Belton, TX have cracks, dents, or holes, professional drywall repair can restore them to like-new shape. At Star Remodeling & Demolition, we use proven methods that create flat seams and smooth finishes that last. We take time to prep, patch, sand, and paint the right way. Call (512) 649-2663 to schedule service or ask about your project, and we will help you decide the best next step for your space.